Introduction
Aaj ke time pe automation luxury nahi, necessity hai.
Socho…
- baar baar same Excel update karna
- emails manually bhejna
- APIs connect karna
- repetitive backend tasks
Ye sab manually karoge toh time waste + energy waste 😩
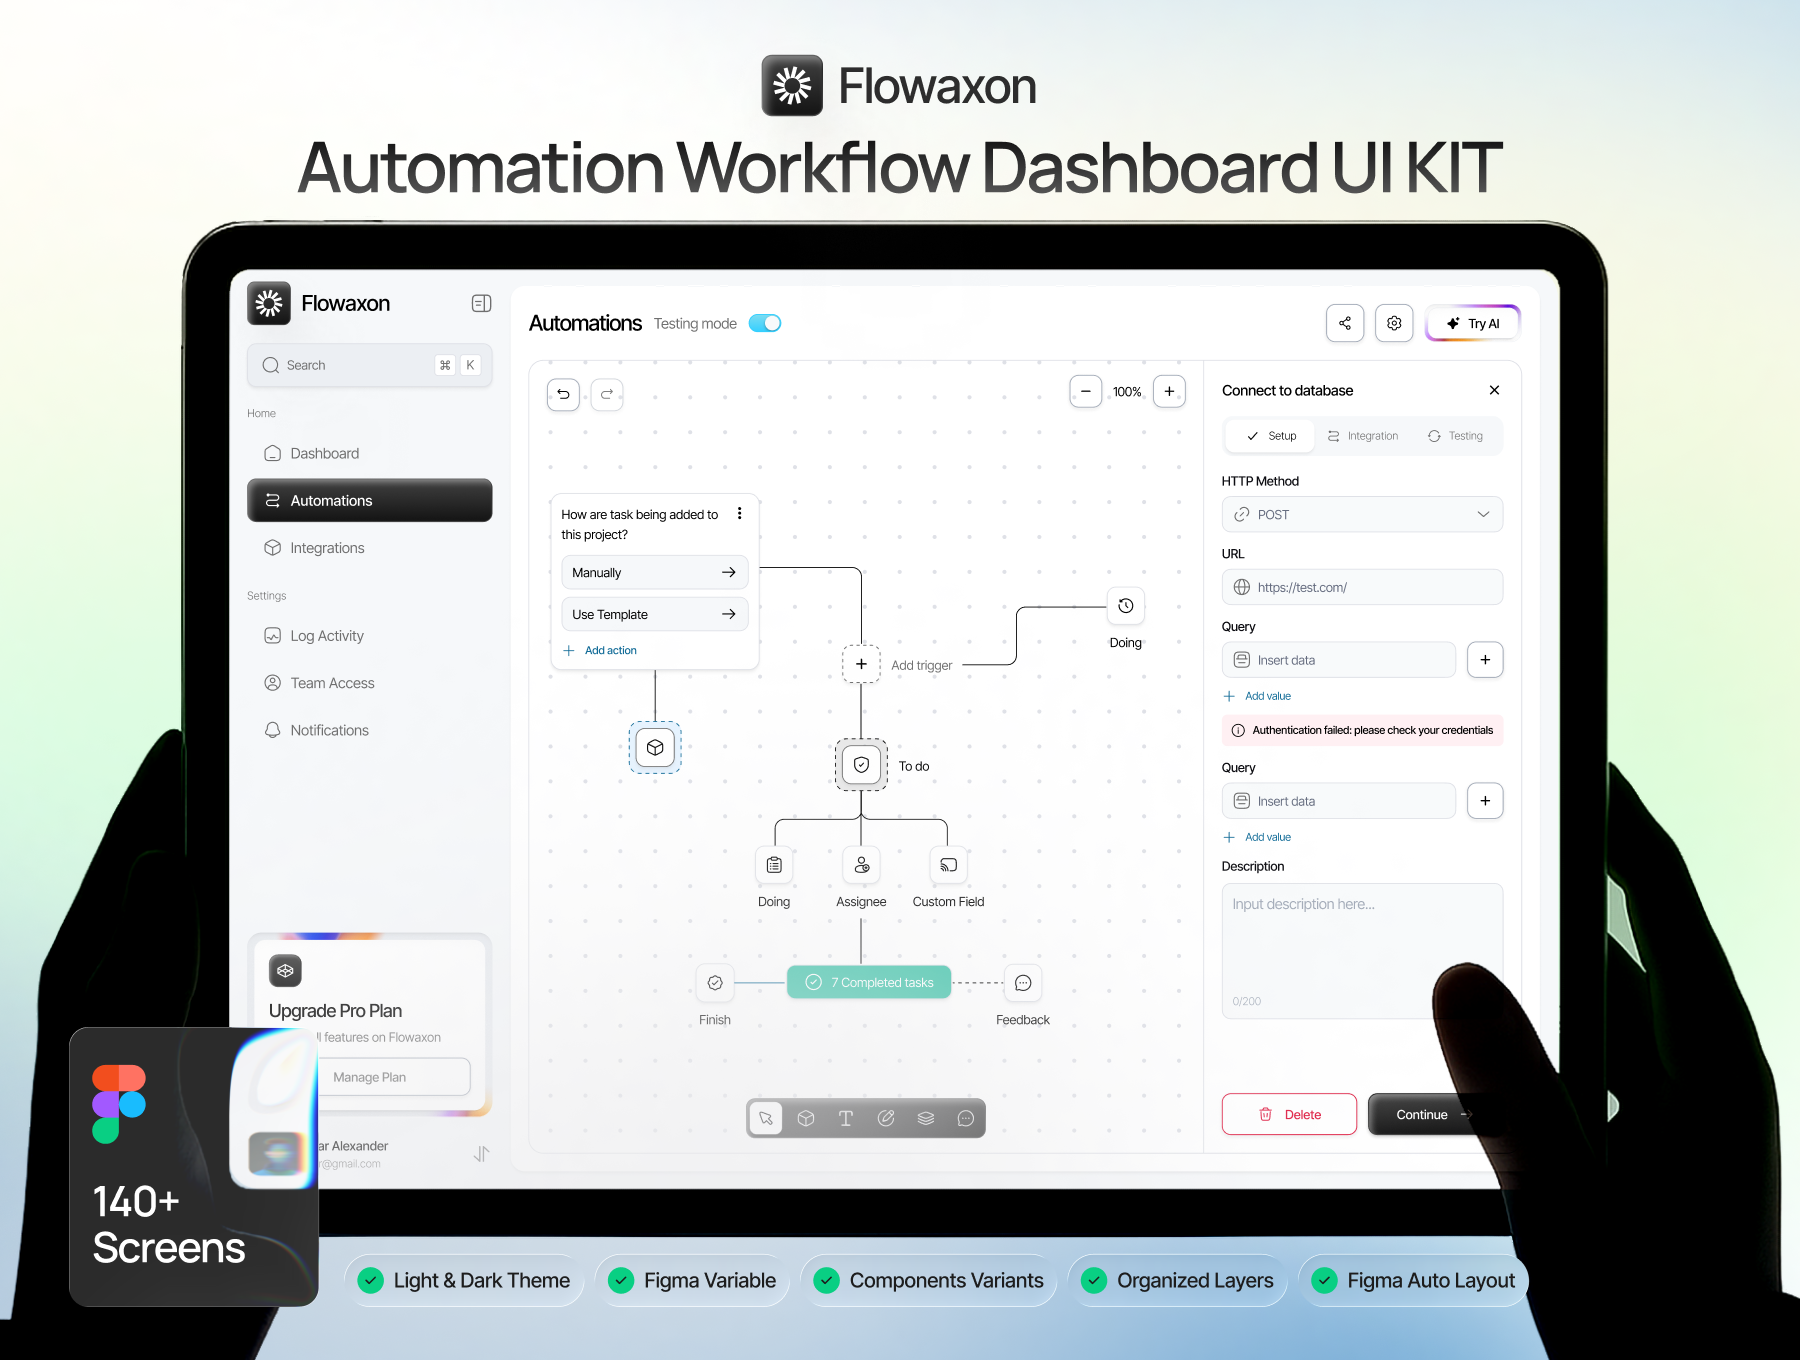
Yahin par entry hoti hai n8n ki.
n8n ek open-source workflow automation tool hai jo tumhe:
- APIs connect karne deta hai
- apps integrate karne deta hai
- aur custom nodes bana ke apna system automate karne deta hai
Aur best part?
Zapier jaisa paid nahi — fully self-host + customizable.
Agar tum developer ho, freelancer ho, ya SaaS build kar rahe ho — n8n tumhara secret weapon ban sakta hai.
n8n Kya Hai? (Simple Language)
n8n = automation + coding power
Ye basically:
“drag & drop automation builder + developer level customization”
Tum:
- Slack connect kar sakte ho
- Google Sheets sync kar sakte ho
- database hit kar sakte ho
- ya apna custom API bana sakte ho
n8n se kya kar sakte ho?
- Form submit → Email send
- Order aaye → CRM update
- API call → Database save
- Webhook → Trigger workflow
Matlab poora backend automation engine
Why Developers Love n8n?
Reasons simple hain:
Open source
Self host
Custom nodes bana sakte ho
JavaScript/TypeScript based
Unlimited integrations
Agar tum coding jaante ho → n8n ka power 10x ho jata hai
Step 1 – Setup n8n Locally

Chalo practical start karte hain.
Node.js install karo
node -v
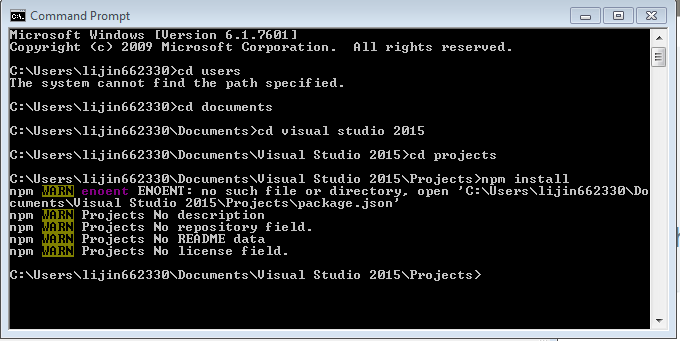
npm -vn8n install karo
npm install n8n -g
Start karo
n8n
Open:
http://localhost:5678
Boom
Tumhara automation dashboard ready.
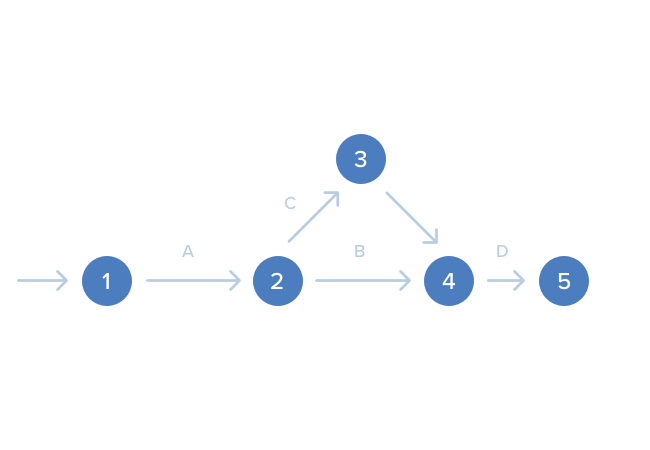
Step 2 – n8n Architecture Samjho
Basic concepts:
| Term | Meaning |
|---|---|
| Workflow | Automation steps |
| Node | Ek action (API call, DB save) |
| Trigger | Workflow start kare |
| Execution | Workflow run |
Nodes = LEGO blocks
Unko connect karo = automation ban jaata hai
Step 3 – Custom Node Banana (Real Power)
Agar tumhara app n8n me available nahi?
Apna node banao
Example:
Tum apni company ka internal API connect karna chahte ho.
Folder banao:
nodes/MyCustomNode
Sample TypeScript code:
export class MyCustomNode {
 async execute() {
   const items = this.getInputData();
   return items.map(item => {
     return {
       json: { message: "Hello from custom node" }
     }
   });
 }
}
Restart n8n →
Node appear ho jayega
Step 4 – API Integrations

Ye part sabse powerful hai.
Example: Weather API
Flow:
Webhook → API call → Data process → Email send
Steps:
- HTTP Request node
- API URL paste
- JSON parse
- Next step use karo
Done
Without backend coding.
Step 5 – Web Apps me Use Kaise Kare?
Tum n8n ko backend automation engine bana sakte ho.
Real examples:
Contact form → Email + CRM
Order → Invoice + WhatsApp msg
Signup → Database + Slack alert
Use:
Webhook node → frontend se hit karo
Matlab:
Frontend → n8n → automation → response
Pure serverless feel
Step 6 – Deployment (Production Ready)
Best options:
Docker
docker run -p 5678:5678 n8nio/n8nCloud
- AWS
- DigitalOcean
- GCP
Pro Tip:
Production me always:
- SSL
- Auth
- Database backup
Pro Tips (Experience se)
Always:
small workflows banao
credentials secure rakho
reusable nodes banao
logs check karo
Git use karo
Common Mistakes
Sab kuch ek workflow me
Hardcoded API keys
Testing skip
No backup
Overcomplicated logic
Simple rakho = scalable banta hai
Real Use Cases
Freelancers
- Client automation
Startups
- CRM sync
SaaS apps
- Backend jobs
Agencies
- Reporting automation
Devs
- Custom integrations
Future of n8n
Automation + AI + APIs = future
n8n:
- fast grow kar raha
- enterprises adopt kar rahe
- developers demand badh rahi
Ab seekhoge toh 2–3 saal baad huge advantage milega
Final Thoughts
Sach bolu Om…
Agar tum:
- developer ho
- automation pasand hai
- SaaS build karna hai
- ya freelancing karte ho
n8n must learn skill hai
Start small:
1 workflow banao
1 API connect karo
1 custom node likho
Phir dekhna… tum automation ke king ban jaoge